Production Forms
Production Forms are used for the main day-to-day production records on site.
Pile Record
Use the Pile Record form to record piling work completed during the shift.
The form is completed in three stages:
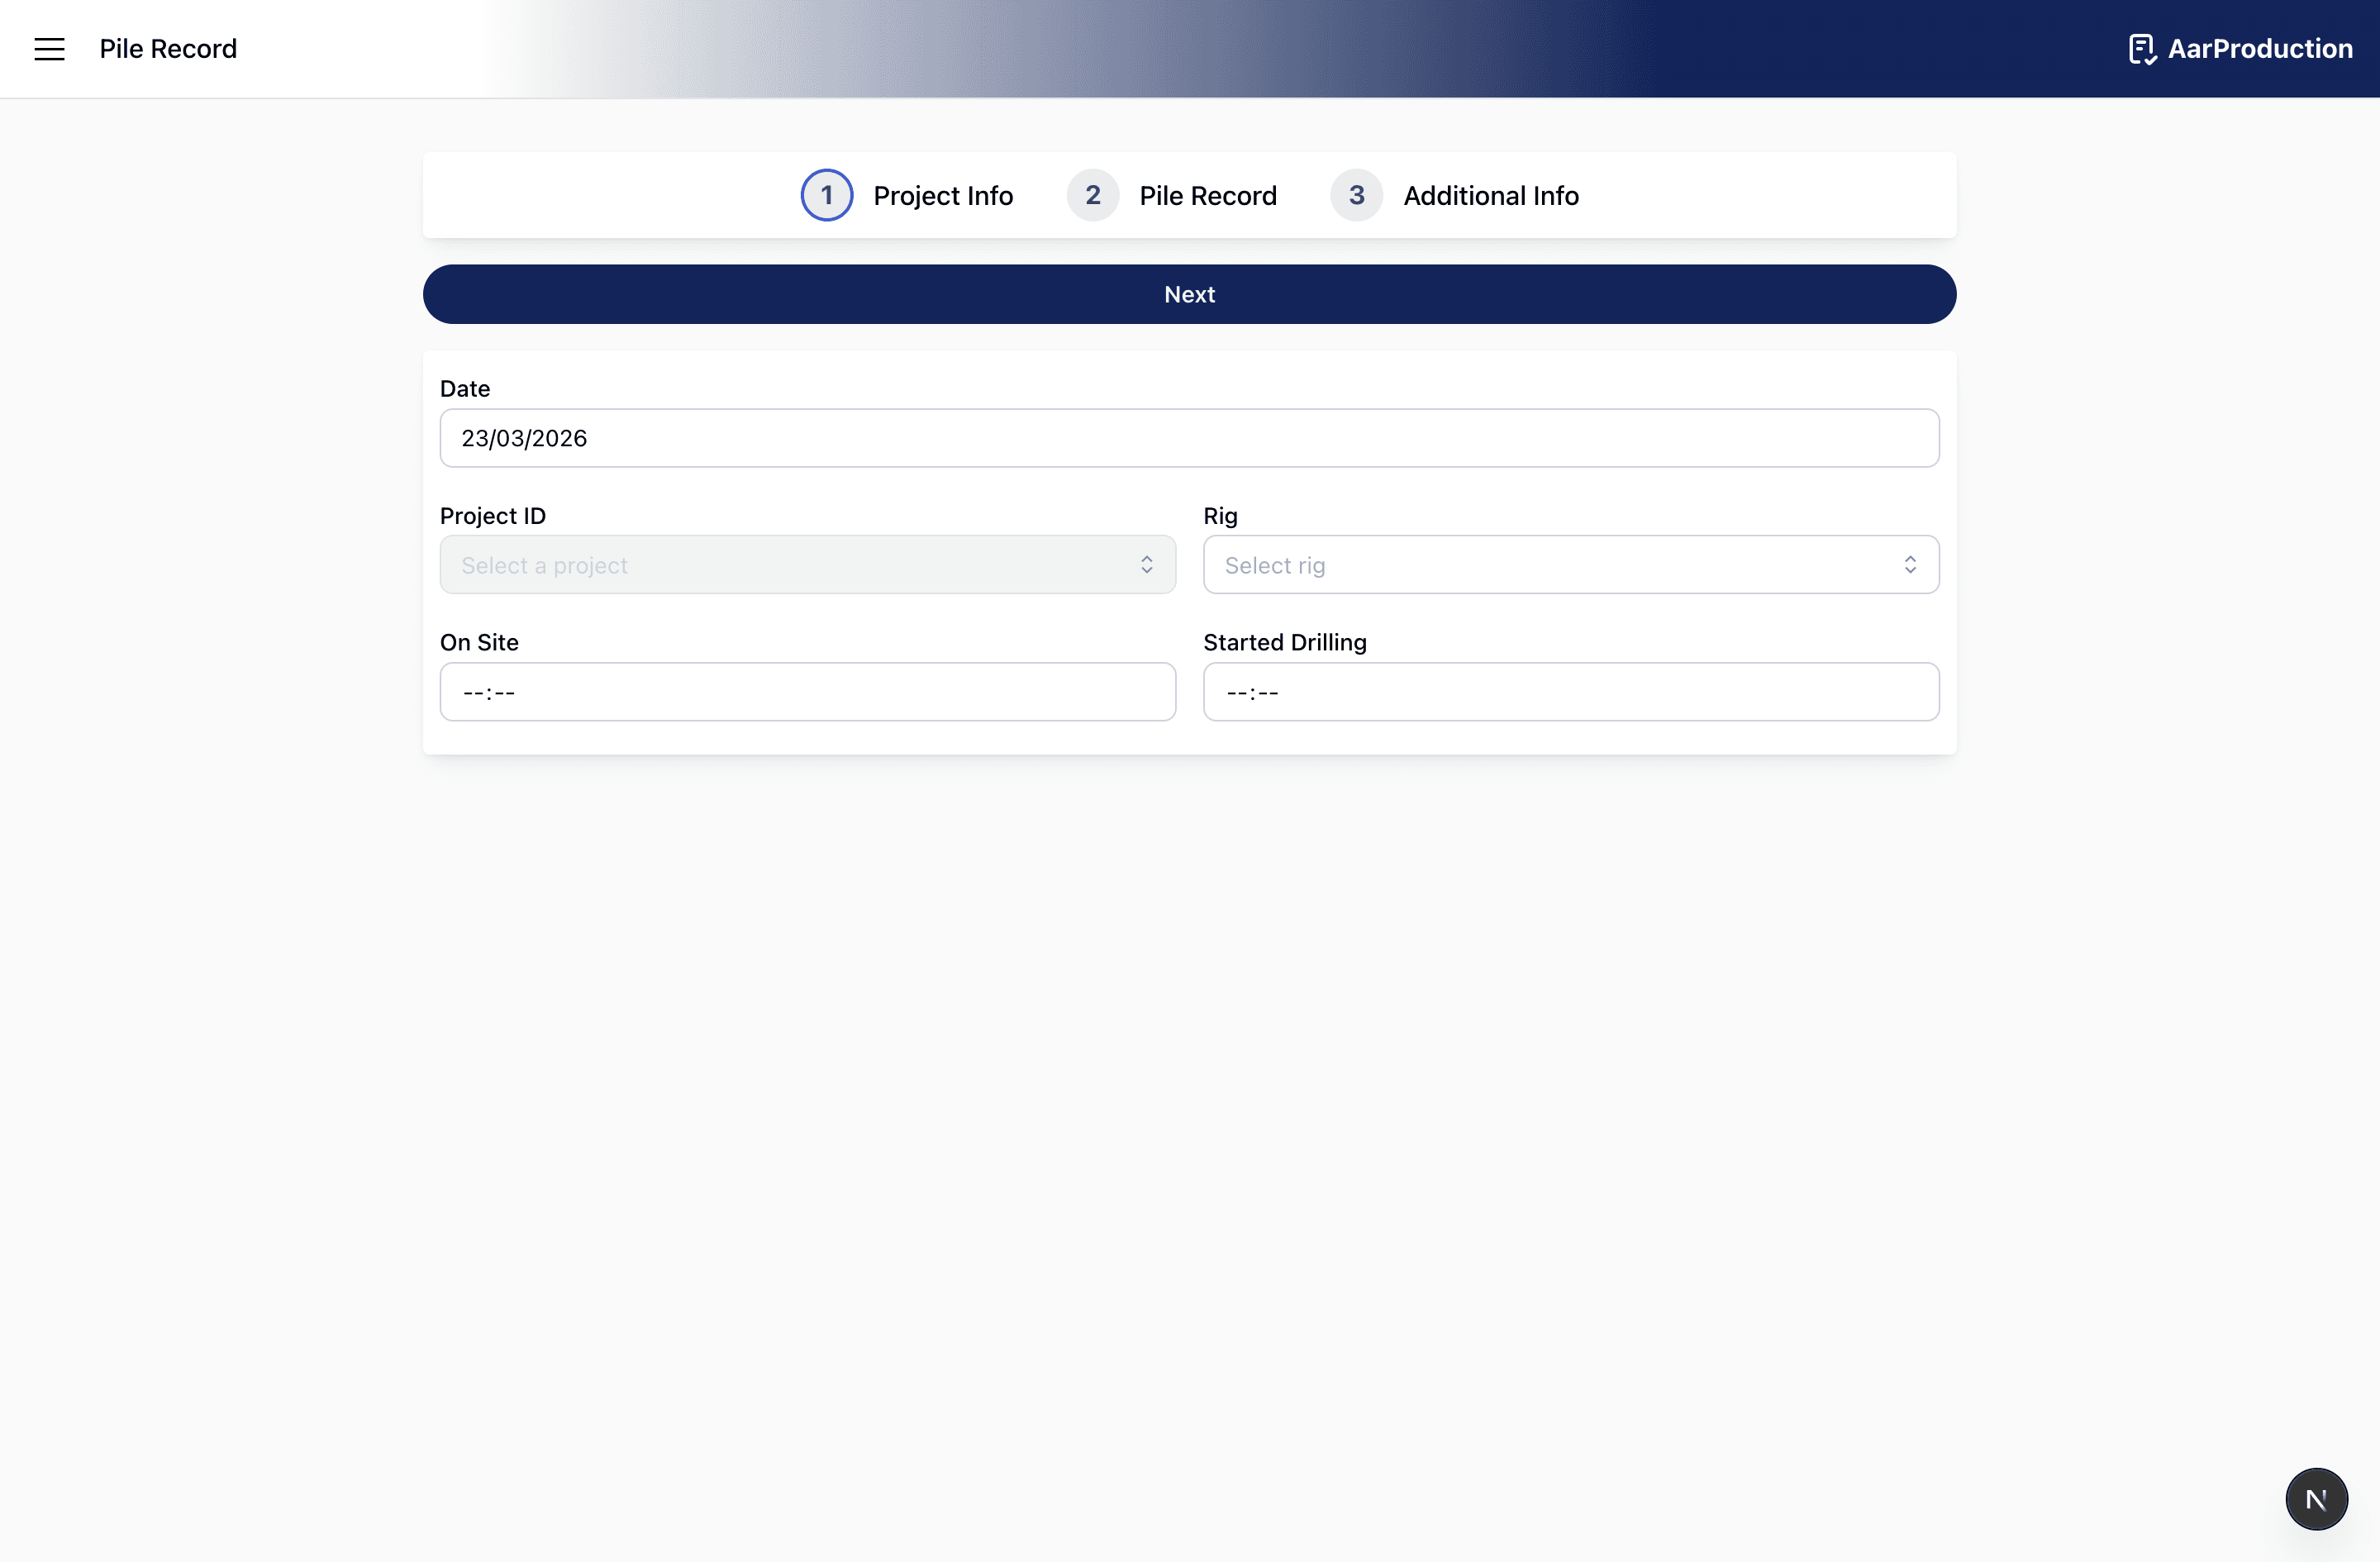
1. Project Info
Enter the general details for the shift:
- project
- date
- rig
- on-site time
- drilling start time
Project and rig fields may be searchable. Tap into the field and type part of the project or rig name to filter the list before selecting the correct entry.
2. Pile Record
Add each pile separately. For each pile, complete the fields that apply, including:
- plot reference
- pile number
- diameter and depth
- start and end times
- concrete volume
- cage details
- rock depth
- comments
Take care when entering pile numbers and dimensions, as these are key record fields.
3. Additional Info
Complete the end-of-shift details, including:
- general comments
- weather description
- temperature range
- drilling finish time
- off-site time
Before submitting, review all pile entries to make sure no pile has been missed or duplicated.
Delivery Record
Use the Delivery Record form each time a concrete delivery needs to be logged.
Project, supplier, and mix fields may need you to type a search term before selecting the correct option from the list.
Complete the form with:
- project and date
- supplier
- concrete mix
- quantity received
- called time and on-site time
- slump test result
- whether the load was rejected
- whether the load was returned
Where a selectable field is used, type into the field first to filter the available options before choosing one.
If a load was rejected or returned, make sure the reason field is completed clearly. This is important for traceability.
Before submitting, check that the selected mix and delivery details match the actual ticket and site records.
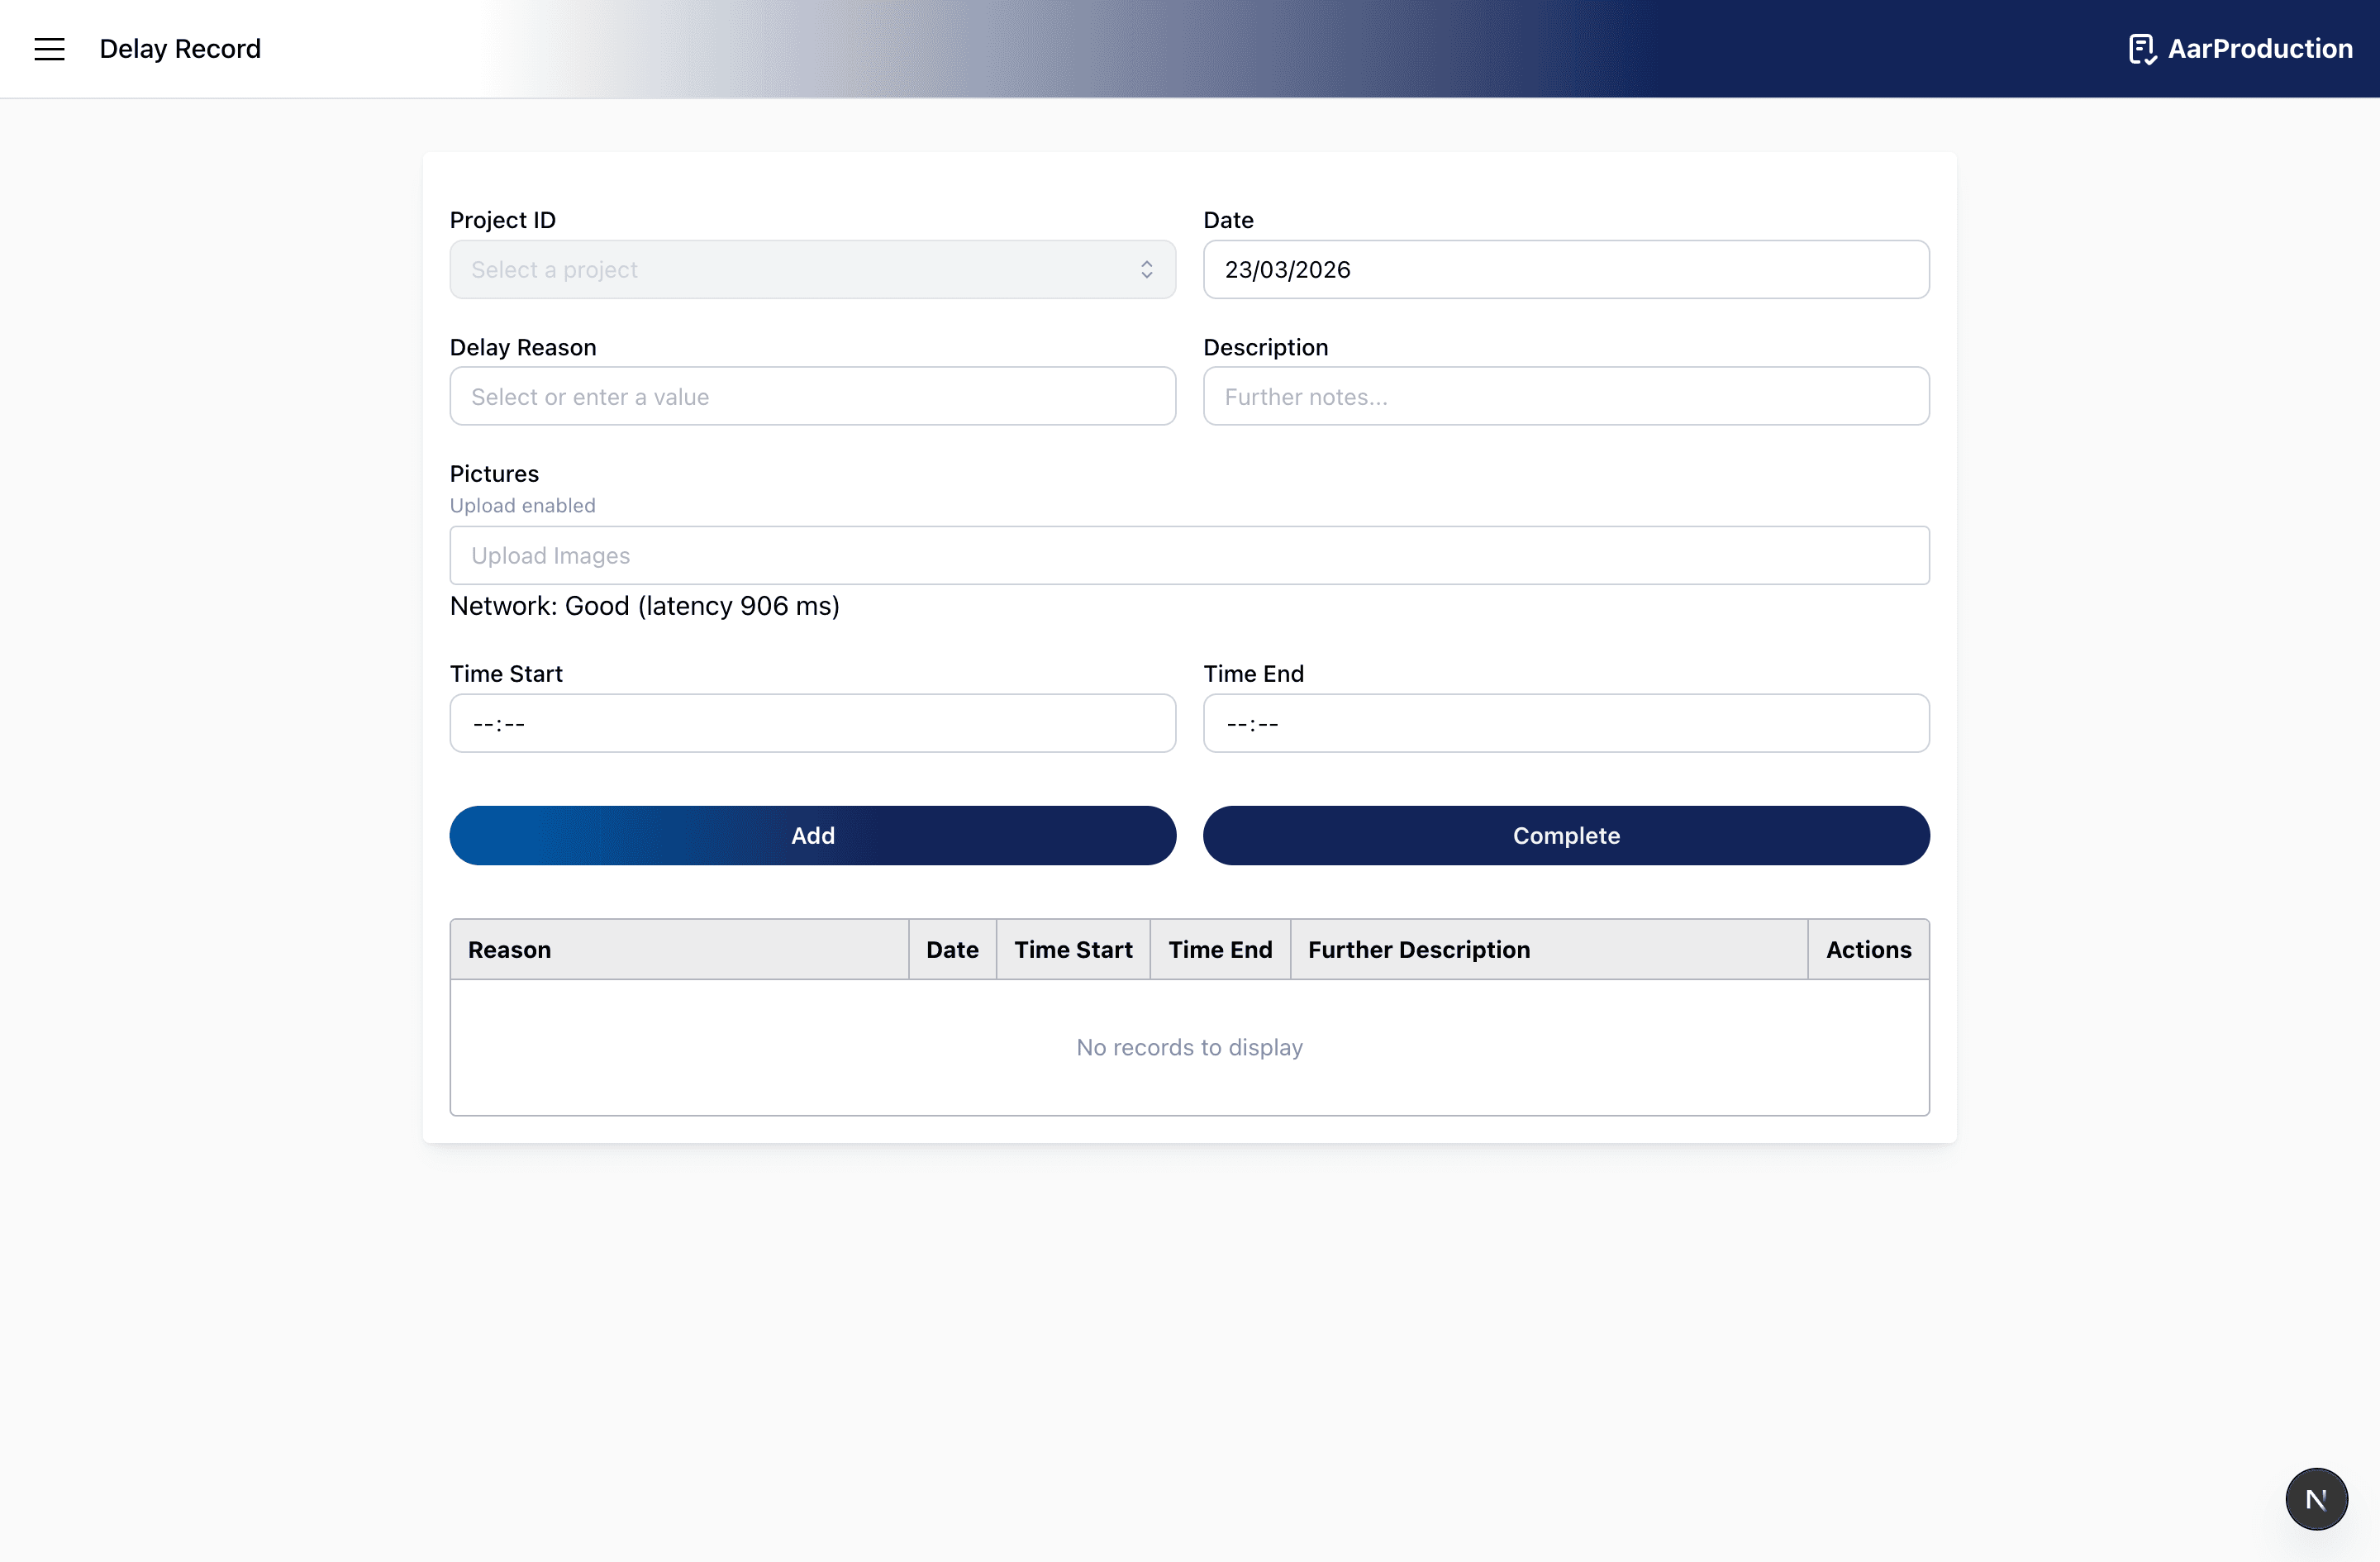
Delay Record
Use the Delay Record form to log lost time or disruption affecting the job.
Start and end times should match the actual delay. Incorrect times will make the record harder to rely on later.
Add each delay entry with:
- date
- delay reason
- description of what happened
- start time
- end time
- photos if they help explain the issue
If the delay reason field shows a list, type a search term first to narrow the options before selecting the correct reason.
Use the description field to explain the operational impact clearly. A short but specific explanation is better than a vague note.
If several delays happened on the same job, add each one so they are recorded separately and accurately.
Before submitting, confirm that the times are correct and that any attached photos match the delay being described.